Thursday, December 29, 2011

Merry Xmas, happy pizza oven

Last week I helped my sister build a pizza oven in her back yard. It is quite a complex structure consisting of a dome and two arches covered in refractory concrete. Here are some pictures of the process that I'll try to explain as I go...

The smaller arch is half bricks, the bigger arch is full brick except the two at the top are three quarter to leave a space for the chimney. Using all straight bricks to save cutting or shaping any I also used plenty of a home-made castable in the gaps,the same mix I use for my kilns.

Tina built the stone walls where she wanted the oven situated and had everything measured up and ready to go, arches cut, etc. The design is one from 'The Shed' a NZ handyman magazine. After she'd done the wall, my Dad laid the concrete slab.  All I had to do was come along and place out and lay the bricks.

First layer of bricks placed out to fit the two arches so we could slide them out easily. To the left of the arch you can see the gaps filled by the castable mix.

With the two arches in place, we then started laying the dome. It was quite hard to figure out how to tie it into the arches but again, this is where the refractory stuff comes in handy. My sister Mandy arrived and split some red bricks.

On Christmas morning, we went round to Tina's to remove the templates for the arches. A photo of Mt Cargill we took on the way.

Checking out the castable mix, which consists of local terracotta clay, beach sand, straw and cement.

Me and Tina removing the outer arch template by taking out two screws and dropping the template down. It came out no problems at all.

The inside of the oven. We used fire brick for the first three levels, or basically until we ran out, then we used house bricks for the rest.

A little fire of newspaper just to try things out, and dry everything slowly.  Works sweet, would make a great raku kiln. Can't wait to try out a pizza!

View from the car on the way home down Old Brighton Road.

Rainbow above the kiln on a dark and brooding day.

Recent work awaiting firing.

This oven would be a great design for a raku kiln. It was good to see my pottery and kiln building skills used outside of ceramics.

Happy New Year! All the best for 2012.

Monday, November 14, 2011

Now focus...but, hey, whats that...?

Sometimes I have trouble keeping my eye on the prize. With at least four different clay bodies, all maturing at different temperatures and glazes from 1000c to 1350+,  things soon get a little overwhelming...So today I decided to try and keep it simple with a solo raku firing.

After work in the morning, I stirred up some glazes from earlier in the year and applied them to some raw pots I made over the last couple of weeks and spent a sunny afternoon doing what I enjoy most - glazing, stacking, firing, and unpacking, all in the same day.

But before I start rambling, here are some photos of the day's happenings:

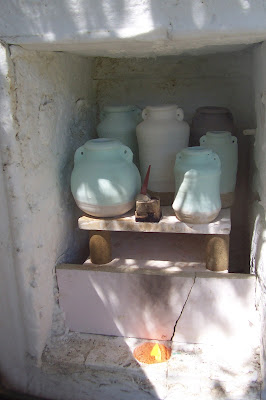
Raku stack ready to go with cone 06 in position.

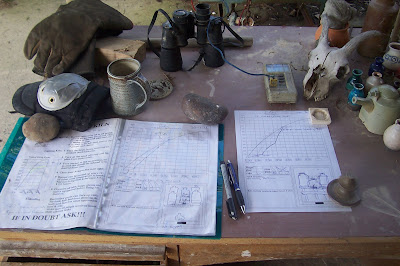
The all important items and essential firing charts.

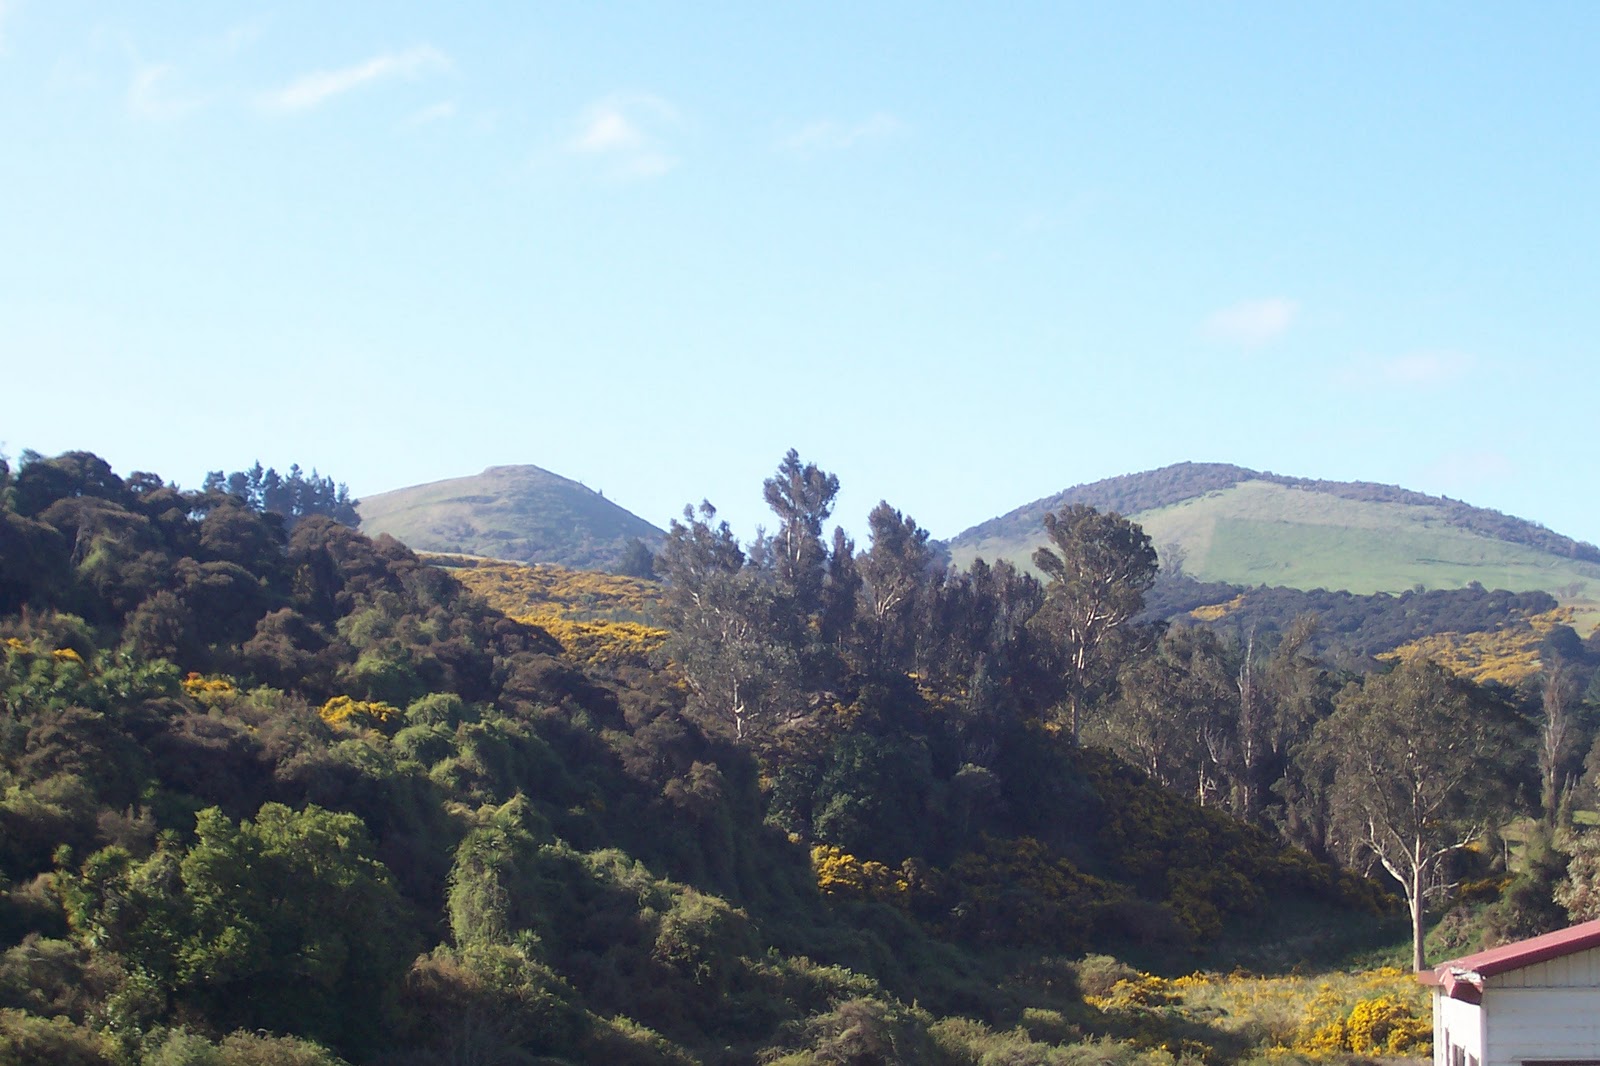
The fickle Dunedin weather goes something like this-Monday hot and sunny about 32 deg.C with a coastline like the Mediterranean  (minus the people). Good for surfing. By Friday, snow to sea level - an  unexpected surprise in the late spring, even though they said it was coming.

After a short jog along the beach while the pots were cooling off in the reduction bin, and a quick scrub, I was pretty happy with the outcome.
Man, I could raku all year with these kinda results...But what's that, is that about 150 salt glaze tests ready to fire, oh well here we go again!

Thursday, November 3, 2011

Tools of the trade and stuff

Another good day spent pottering about. Some people talk of their approach to potting,whether it be London, Paris, Tokyo or New York, local markets and galleries, or making things for oneself and a few others.  The equipment and tools we use and the wheel spinning around remain constant. For me, I enjoy the lifestyle it brings and as a enthusiastic hobbyist I love all the chemistry of mixing glazes, building and firing kilns, the sometimes dramatic or subtle results. It's great just to have the chance to make something beautiful. I'm glad I don't have to do it for a living, I have a part time job for that, but it's great to have a hobby that could possibly become a means to an end or a supplementary income if I can get it to that level and that comes down to productivity and how much you push yourself, head per capita etc.etc.

So i guess I would consider myself a part time pottery enthusiast but with a passion for clay and fire and fulfillment.Something I'm sure every potter can relate to at one time or another. On to some pics with captions

Down here I work with white clay for now,so I've washed some tools after using buff and red clays and these are some of the tools I make and use often.

Soft and loose bottle forms to be raku fired for eggshell like glaze effects, or salt glazed for a more stony texture.

The weather shot

Since bricks are getting scarce I will be dismantling a kiln once more for other projects. In this frame one can see the arch is of straight brick with castable key wedge in the center .This saves cutting bricks and can be used anywhere. Below that is the flue exit and some chimney bricks sticking out. Under the flu exit is the floor bricks and under that is where the flame enters from the firebox, runs under the floor into the kiln.

Looking in from the front seeing where the flame combusts  under the floor. .In this photo I removed 5 firebricks from the  floor and at the rear is the flue exit.

In this kiln the floor bricks are still in place showing where the flame will enter and exit, and a salt port. Needs a bottom shelf so the heat will need to go under it to escape and a bagwall

I will use the bricks from the other kiln for a chimney along with a length of flue and more bricks for the door (wicket). It has a small fire box to prime the throat for the burner, 0 to 500 or 1000 deg C on wood depending on the size of the firebox, 400 to 1350+ on oil slash diesel.  I have never had the patience to fire on wood alone as after 1000 deg it gets hard work. This kiln is designed for oils and would need a big firebox as close to the kin as possible (or even under it) to run on wood alone for stoneware temperatures.


random size lumps of white clay, by tomorrow they'll be pots.

Supermarket plastic bags and polythene buckets store clay well.

Burner, fuel line,tap,hose,tape, bag of salt...check.

old vacuum blowers, check.

Props, shelves, shelf wash, fire clay, wadding, check

Fuel-tank.

Disused long-drop - self explanatory.

Walkies.

A guy showing his 4 year old daughter to surf. The sea's been pumping lately and she caught a couple of mini tsunamis like a pro. Impressive.
Now glazing, firing charts, throwing... stuff for another time. Getting late, Gotta sleep.

Tuesday, October 18, 2011

Mediterranean olive jar style

A stormy day outside and so a good time for a quick blog. Here's some-more-a large terracotta pots in the Italian fashion.


these pots are 1.5cm thick at the base tapering to 1 cm at the widest point(560 wide 700mm high before firing). Nearly 40 KGs of clay in each pot

one day I'll stretch a goat skin over something like this for an awesome dejembe drum.

horses sure like their water fresh. they stand around the watering hole all day drinking a average of around 50 liters of water a day, its a good thing they only eat grass.


 more research on that Italian plaster moulding for handle finishes.They do the same detailing to ceilings as they do to pots and probably furnishings too.
Saddle Hill on a fine day.
Today the weather ain't so good .

Wednesday, September 28, 2011

Direct from the source


This month I've been digging clay from behind the barn about 30 meters away where I have the wheels set up. The clay is quite sandy and a bit short (not very plastic) so its been a challenge to throw and hard to get a good pull out of a coil slowing down progress some. I could mix in some ball clay and maybe a little bentonite but the challenge was to make a large pot straight outta the ground, little bits of grit and stone and other impurities left in to give a natural texture that will blend in well with the local environment.

Clay in its natural state, simply crush and add water. Just have to be careful I don't end up with 10 bags of river silt!

Two good sized terracotta pots based on Mediterranean olive jars

A nice fat rim and a triple coil lug as a finishing touch

Another great way to warm up and also a fun way to kill some time between coils - jungle drums.
Now its time to get into a rhythm of making more big pots and the challange of firing these can be an art in itself. The secret is long and slow.

Wednesday, August 31, 2011

Spring...almost

Some wierd light

its good to take a break and wander about taking photos.


Some nearby terracotta clay, straight out of the ground, then pug milled little stones and all for a natural textured body .I hope to coil some large pots with this local clay in the upcoming spring and warmer weather.