Monday, February 14, 2011

Small Salt Glaze Test Kiln Construction

Last week I built myself a small makeshift top-loading brick stoneware kiln, that would give me the opportunity to test out salt glaze recipes in small amounts. It is fired initially by wood and then by a diesel jet burner going in at the side. I was able to put it together in one afternoon, using a scaled-down layout from the one that I used on my big kiln. This one has a kiln shelf as a roof and no arches.The walls are a single layer of fire bricks, as this cuts down on a lot of bricks, and should be enough for a small test kiln.  Anything bigger needs to be double brick walled.

It's the same size as my small gas kiln and would make a great hobby kiln/test kiln. I'll be interested to compare it to the small gas kiln in terms of fuel economy. I've used fire bricks throughout (house bricks will just melt at these temperatures) laid on a bed of cinder blocks. The kiln reaches temperatures of over 1300 degrees Celsius, so it is suitable for any kind of stoneware.

Here are some photos showing four stages of the construction:

The first layer of fire bricks, sitting on a foundation of cinder blocks


The second level, showing the firebox and throat into the kiln which runs under the floor.
Side view. This is where the diesel burner goes in, under the chimney. It goes under the floor combustion space before it gets into the kiln.
Top view, showing kiln chamber at the front, chimney, and firebox at the rear. There is a salt port in the top right hand corner, where the salt is thrown in over the flame, in front of the bag wall. This photo shows three layers of bricks in the main chamber where the pots will sit. After this I kept adding layers till I got the finished height, adding one spy-hole in the middle, and a little hole for the pyrometer up near the top. There will be a flue for the chimney at the rear.

Side view showing kiln shelf covers in place, and chimney - I will add a stainless steel flue chimney as well, before firing, to create more draw.

I hope to fire this one in another week or so, with some new salt glazes and subsequent oxidisation and reduction firings.

There are some plans similar to what I used here. They were originally taken from 'New Zealand Potter' magazine but unfortunately I forgot to write down a reference.  Here is a plan showing a cutaway view of the kiln in action:

Saturday, January 15, 2011

Happy New Year

Native New Zealand Rata flower

Happy New Year to everyone following this blog! I can't believe it's 2011 already - last year was a really productive and busy one for me and Katherine, and hopefully this year will be even better.

I had my 40th birthday at the weekend (I can't believe that either...) and we decided to throw a 'raku party' for my family, to celebrate. Everything went surprisingly smoothly on the day, the sun came out, and a great time was had by all.  I started the kiln in the morning and by the time everyone finished eating lunch the five pieces were ready to take out and put in the smoky bin to reduce. Everyone enjoyed watching them come out molten orange and change colour instantly as they hit the air. You get different results depending out how long you leave them out before packing them into the sawdust bin.

We all went down to the beach to cool off after that and by the time everyone came back the bottles were ready to take out of the bin and put into cold water. This step is optional but it speeds things up and adds a bit of drama, with the pots hissing and spitting as they hit the water:

Out of the bin and into the bath.

At this stage the bottles still need a good scrub to clean off the soot and show up the colours.


I should also mention that I now have several raku pieces and some large terracotta amphorae (see my last post) for sale at Bellamys Gallery in Macandrew Bay.  The gallery is only ten minutes drive or so from the Octagon - following the scenic Peninsula road that goes around the edge of  Otago Harbour - and well worth the trip.

Saturday, December 4, 2010

'Shipwrecked': Classical-Style Amphora Collection


This is a group of some of the amphorae I've been working on over the last few months....made out of local Dunedin terracotta clay which I dug up and processed, and fired to 1050 degrees Celsius in a gas kiln.  They're based on  photos of authentic ancient pieces which I found on the internet and scaled up to 3-D proportions. I threw them in three segments, joined them together, and then added the rims and handles.

I love the look and form of these ancient vessels. Used to transport oil and wine all over the classical world, they have been found in their hundreds in ancient shipwrecks, lying forgotten on the bottom of the ocean. There's something so human and natural about their strong, rounded shapes.

Thursday, November 11, 2010

Recent Work - Terracotta and Raku

We've had a busy week in the studio now that the weather is hot - Katherine and I did two raku firings over the last two days, with mostly successful results. For the first one, we used long dry grass for the reduction - you can see the pattern it left on my white crackle pot here:


We also used a couple of green copper-based glazes which gave some great 'copper penny' colour flashings. For the second firing we used dry pine needles which put out a lot of dense smoke and turned the unglazed part of the pots a deep black:


I've finished two large terracotta amphoras now and have started on another two - these ones have a rounded shape, including the rims and handles:


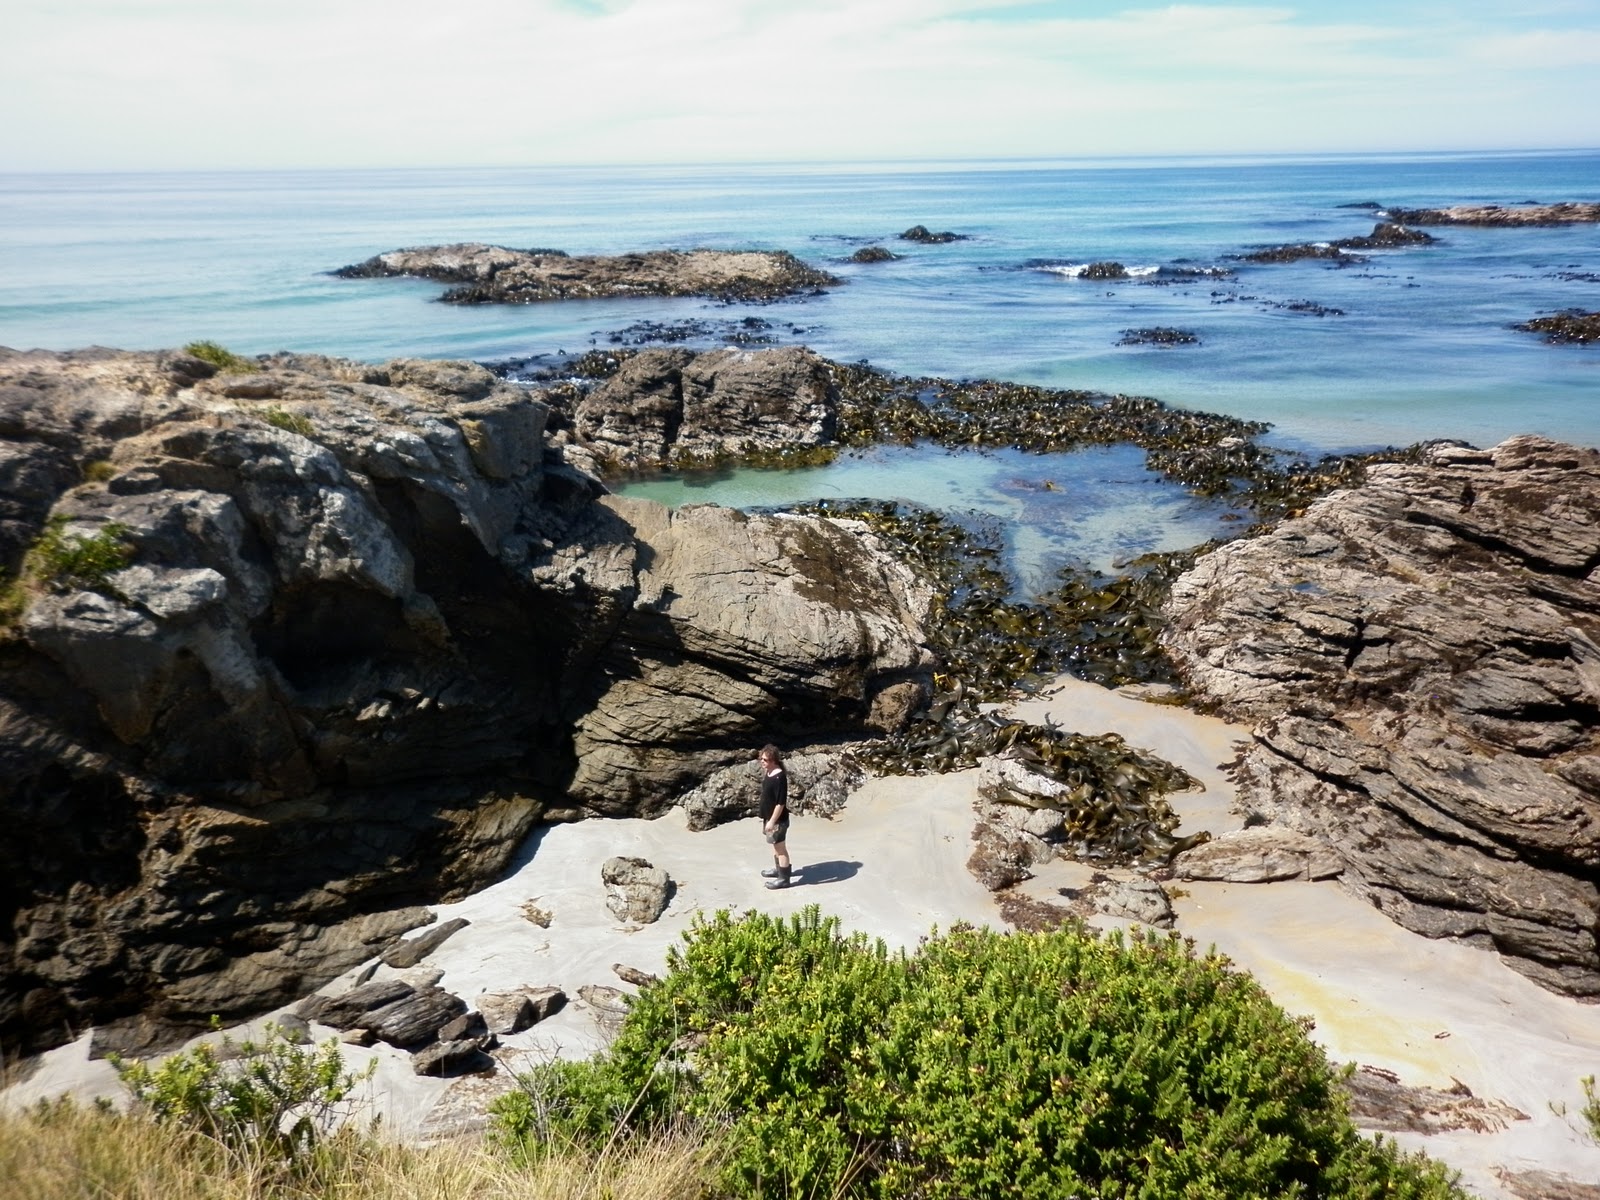
One of the great things about working from home at Brighton is taking your lunch break at the beach! Here I am yesterday checking out some of the rock pools and natural swimming holes on the coastline, just a couple of minutes drive away:


More photos on our Flickr photo stream, here.

Wednesday, October 27, 2010

Bees, Birds...and Big Pots

We had to stop potting for the afternoon yesterday when a bee swarm showed up out of nowhere. According to this fascinating article in  Wikipedia, 'the bees are usually not aggressive at this stage of their life cycle' but I wouldn't want to test it - they sound intimidating enough. It's incredible the way such tiny animals can communicate with each other so effectively that they behave like a single organism.

The swarm buzzed around the house for a while looking for a way in (fortunately we remembered to shut ALL the doors and windows) and then settled in a branch of a tree above the woodshed. They stuck around there in a big humming ball until lunchtime today, when they swarmed off again in search of their new home... but where did they go?!?


Katherine also took a photo of a white-faced heron this morning, trying to blend in with the buttercups:

We get a lot of interesting birds out here in Ocean View, from introduced English species like swallows and magpies, to natives like bellbirds, tui, Paradise Ducks and even a couple of  kahu, or harrier hawks, which have been circling each other high in the air lately, doing their courtship dance. An amazing thing to watch.

To get back to the pottery theme - here's a photo of a couple of big planters I've been working on. They are made with local terracotta, in a combination of coiling and throwing techniques:

Monday, October 18, 2010

Clay Preparation Videos

I put up a video on YouTube here of the process I go through when making my own terracotta clay body, using nearby clay. (Apologies for the quality, the video was filmed on an old digital camera, but you get the idea!)

First, I dig up the clay, dry it, break it up with a sledgehammer and seive it through an old bed frame. Then I put it into buckets and saturate with water.

I 'blunge' it with an electric drill attachment and seive it again through a mouli seive. Then I pour off the excess water once the clay has settled. I put the clay on plaster bats to dry, then process it through a pug mill. (You could also wedge it by hand if you want). Finally, I store it in plastic bags.

Another YouTube video I like:  The Potters of San Marcos, showing a more traditional method of preparing clay from raw ingredients, by the potters of San Marcos Tlapatzola in Oaxaca, Mexico.

Glenfalloch Potters Cottage

We went for a trip to Glenfalloch Gardens on Saturday for a family celebration, had a wander about while we were there, and took some photos:


The old homestead is no longer lived in, but the gnomes seem to have the garden under control

Another gnome, by the fountain...
A mysterious package....
 
The gallery has a lot of nice crafty stuff for sale

The Potter's Cottage runs classes and sells work by nine Dunedin artists. Note the gorgeous old terracotta urn on the porch

Just some of the work for sale in the Cottage - a good range of well designed, functional pottery with a genuinely New Zealand feel  - definitely worth a visit
Filtered sunlight on a nikau palm

:
A Japanese style pond


A canon dated '1914'

The ride home along the Peninsula road is always an adventure....